Master Lawn Automation in Under 30 Minutes
In the era of smart homes and instant solutions, lawn automation shouldn’t take more than a lunch break. With the latest smart sprinkler systems and WiFi-enabled controllers, turning your yard into a self-managing green space is now easier than ever. In this guide, we’ll show you how to set up a modern lawn watering system in less than 30 minutes—no tech background required.
Lawn automation is more than just a tech upgrade—it’s a lifestyle improvement. Imagine never dragging hoses around or guessing when to water your plants again. With just a few tools and a bit of setup, your lawn can become smart enough to handle everything on its own, rain or shine. Whether you’re a seasoned gardener or a total beginner, you can get your smart lawn automation system running in no time.
Why Automate Your Lawn?
A traditional lawn requires regular attention, manual watering, and constant weather monitoring. With Lawn automation, you save time, reduce water usage, and ensure consistent care for your plants. It also adds convenience—whether you’re at work, traveling, or just lounging at home. Plus, smart lawn systems are cost-effective and environmentally friendly in the long run.
In addition to the time-saving benefits, automation introduces precision into your lawn care. Overwatering or underwatering becomes a thing of the past. You gain insights into how much water your lawn is using and can make real-time changes from your smartphone. Furthermore, smart systems can detect weather changes and adjust schedules, preventing unnecessary water waste. This means your lawn looks lush while you do less work.

What You’ll Need to Get Started
Master Lawn Automation in Under 30 Minutes , you only need a few key items:
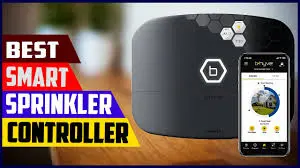
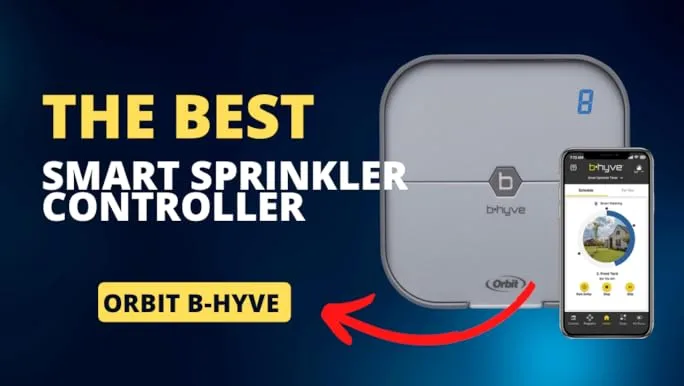
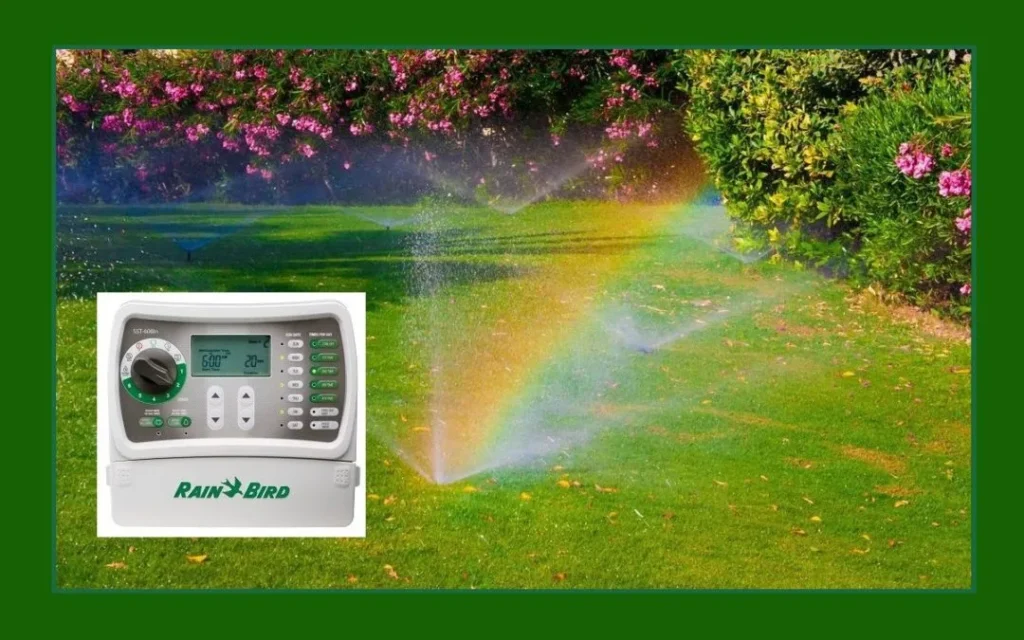
WiFi Smart Sprinkler Controller (e.g., Rachio 3, Orbit B-hyve, or Wyze)
Stable Internet Connection
Smartphone with a Companion App
Optional Moisture Sensor
Basic Garden Hose or Existing Irrigation System
These tools are widely available, easy to install, and designed for quick setup. You don’t need professional help unless you’re working with complex underground sprinkler zones. Most smart sprinkler controllers come with DIY-friendly instructions and customer support to help troubleshoot any installation issues. Buying from trusted brands ensures you get app support, firmware updates, and long-term reliability.
Step 1: Choose the Right Smart Sprinkler Controller
The heart of any automated lawn system is the controller. Brands like Rachio 3 and Orbit B-hyve XR are user favorites. Look for one that supports your zone count and has real-time weather tracking. Most come with a companion app and voice assistant integration. Make sure the controller supports your existing wiring or offers a hose timer if you don’t have an in-ground system.
The controller you choose should be compatible with your region’s climate and garden layout. For instance, if your region has heavy rainfall, opt for a model with rain skip features and accurate forecasting. If you have multiple types of plants, choose a model that allows for advanced zone configuration. Also, ensure the model has support for seasonal adjustments, manual overrides, and vacation modes.
Step 2: Install and Connect the Device
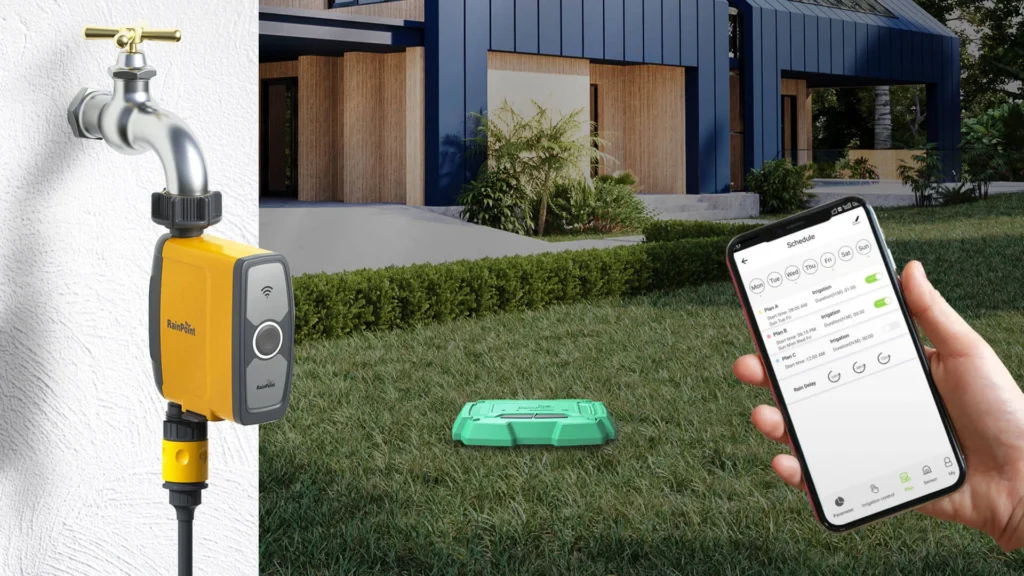
These devices are designed for plug-and-play installation. Mount the controller near your irrigation valve or hose spigot. Connect wires or attach the hose, depending on your model. Plug in the power source and launch the mobile app. Most apps will guide you through setup, zone naming, and connectivity in under 10 minutes. Firmware updates happen automatically.
If you’re connecting to existing sprinkler valves, label each zone clearly to avoid confusion. For hose timers, ensure the device is securely fastened and free of leaks. Installation videos are available for most brands, offering visual guidance for new users. Once installed, run a basic test to verify that each zone activates correctly. You should also sync the system with your home WiFi to enable full smart control.
Step 3: Set Up Your Watering Schedule
Once connected, create a watering schedule through the app. Choose your zones (e.g., lawn, garden, shrubs), set time and duration, and enable weather intelligence. You can also allow the system to auto-adjust based on rainfall, temperature, and humidity. If you prefer more control, you can program manual overrides or adjust settings remotely at any time.
Custom scheduling lets you balance water usage across different garden zones. For example, your lawn may need watering every other day, while flower beds need just twice a week. Set sunrise or sunset schedules to minimize water evaporation. Smart apps also allow push notifications if there are system errors or if it’s skipping due to rain. These features add a layer of reliability to your lawn care routine.
Step 4: Add Smart Features (Optional)
Enhance your system with additional features like:
Soil Moisture Sensors: For precision watering.
Rain Sensors: Stop watering during storms.
Flow Meters: Monitor water usage and detect leaks.
Voice Control: Use Alexa or Google Assistant to water on command.
These can be added over time and still keep the install under 30 minutes for the basic setup. Soil moisture sensors help avoid watering when it’s not needed, which can be especially helpful during unpredictable weather. Flow meters offer detailed usage statistics, helping you track your water bill impact. With voice control, you can start or stop watering while cooking, working, or relaxing.
Step 5: Test and Relax
Once setup is complete, run a test cycle to ensure all zones are working correctly. The app will notify you of any issues. You’re now officially off duty—your lawn automation will water itself according to your smart schedule. You can track performance, make adjustments, and even pause watering on rainy days, all from your phone.
Many systems also offer analytics showing how many gallons of water were used, skipped watering days, and projected savings. These insights are helpful if you’re trying to reduce utility costs or follow local watering restrictions. Regular testing—about once a season—ensures your system remains efficient. You can always tweak the schedule or settings as your lawn’s needs change.
Real-Life Time Saver
Many homeowners report cutting weekly lawn automation time in half after automating their system. Beyond time, they also see up to 50% water savings. Automated systems also help avoid common mistakes like overwatering or forgetting a watering day. It’s a smart choice for busy professionals, elderly users, and eco-conscious households.
People living in drought-prone areas especially benefit from smart irrigation. These systems help them stay compliant with watering restrictions without sacrificing lawn automation health. Parents and pet owners appreciate not having to keep an eye on sprinklers when kids or animals are outdoors. Lawn automation truly gives you time and peace of mind back.
Best Devices for Quick Lawn Automation
Here are top smart sprinkler controllers ideal for quick setup:
Rachio 3: Best for weather intelligence and zone control
Orbit B-hyve XR: Great for voice control and scheduling
Wyze Sprinkler: Best budget-friendly option with AI scheduling
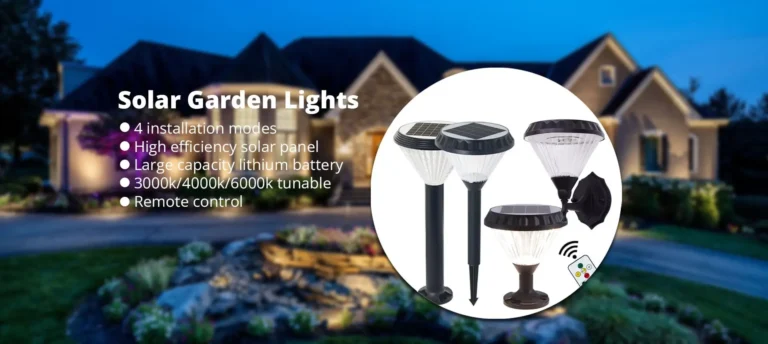
Netro Smart Controller: Ideal for solar-powered outdoor use
RainMachine Touch HD: Excellent touchscreen with local processing
Each of these controllers offers specific benefits, depending on your lawn automation size, climate, and tech preferences. They’re all designed with beginner-friendly interfaces and step-by-step instructions.
Cost Breakdown and ROI
Initial setup costs for a smart lawn automation system typically range from $100 to $300. Most homeowners recover this cost within a year due to reduced water bills. Many cities even offer rebates for installing water-saving devices like smart irrigation systems. This makes lawn automation not only smart but financially wise.
Monthly maintenance is virtually zero. Occasional battery replacement, software updates, or cleaning sprinkler heads are all that’s needed. With long-term use, you’ll experience reduced lawn stress, fewer brown patches, and a healthier overall landscape. Considering the time saved, convenience gained, and sustainability impact, the return on investment is high.